Sew a Softie-Cactus Pillow
Posted on July 18 2019

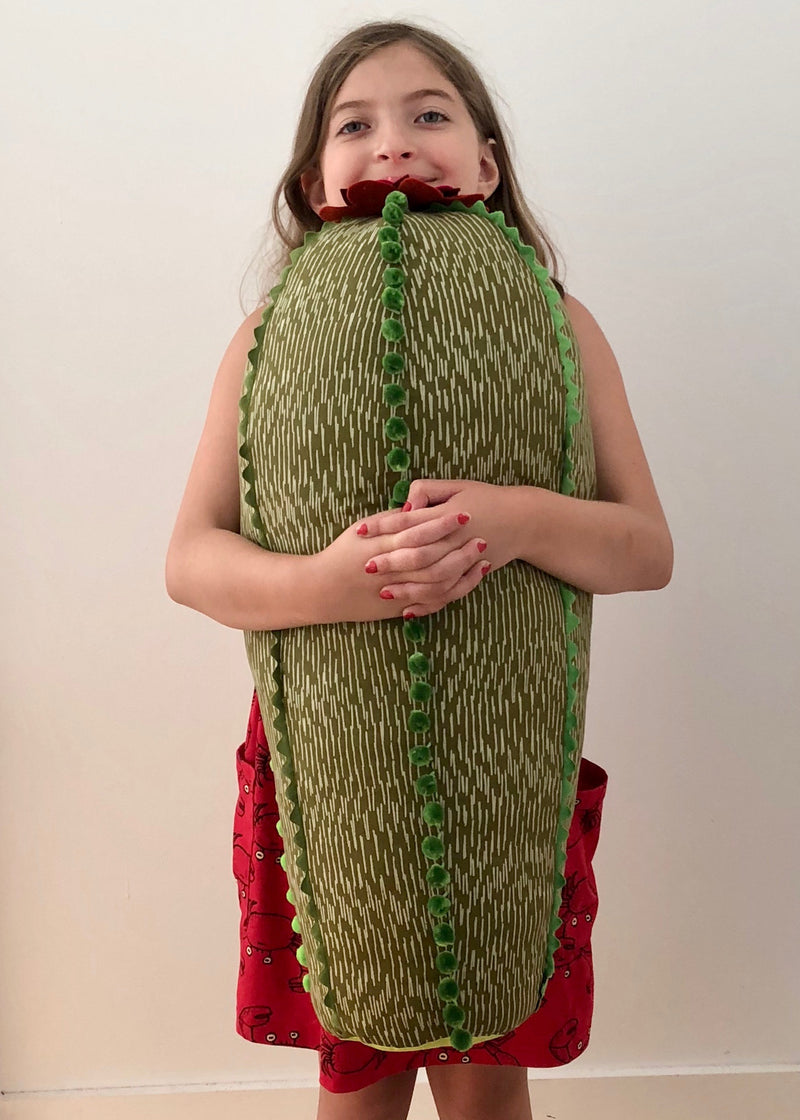


Welcome to Sew a Softie Month! If you have been following my other Sew a Softie projects, you know that I tend to make big softies. I like to channel my inner Claes Oldenberg and now we have a collection of giant stuffed things in the living room to prove it. This year it was time for a Cactus Pillow and once again I have my favorite 11-year-old handy to help with photos.
You will need:
Paper, pencil, ruler, and paper scissors
1 yard fabric for the Cactus sides plus 7” square for the Cactus bottom
5 yards trim such as rick rack or ball fringe. You need 6- 30” lengths
Felt scraps for flower
Fiber Fill
Basic sewing tools
Here we go:
- First, make your pattern. Yes! One of the most liberating parts of sewing is when you can make your own patterns and learn how everything fits together. And we are not talking ball gown here. This is a cactus, folks - you can’t go wrong! Take a 8” x 30” piece of paper and fold it in half lengthwise. Don’t have a big enough piece? Tape a few sheets together. Along one of the short sides, mark 2“ up from the fold.

- From the short end you just used, measure 20” along the fold. Measure up and mark 3 ¼” perpendicular to the fold. Draw a straight line from the 2” mark to the 3 ¼” mark.

- Draw a gentle sloping curve from the 3 ⅓” mark to the bottom corner of the remaining short side to complete the Cactus pattern.

- On another piece of paper, draw a circle with a 3 ½” radius. No compass? Just measure a bunch of marks 3 ½“ out from a center dot and connect them all to make the Cactus Bottom pattern.


- Cut out your paper patterns and label them.

-
From your fabric, use your paper Cactus pattern to cut out 6 pieces. Use your Cactus Bottom pattern and cut out one piece. I used a different fabric for the bottom.

- Starting about an inch down from the point on one of the Cactus fabric pieces, baste a length of trim to one long edge on the right side of the fabric with the trim facing in. (For example, if using ball fringe, the balls should be towards the center of the Cactus piece. I used ball fringe for the first 3 seams, and then rick rack for the remaining 3 seams. This way the trims alternate on the final Cactus.)

- Lay another Cactus piece, right sides together on top of the piece with the trim. Sew the 2 pieces together only on the side with the trim, sandwiching the trim in between the pieces.

- Repeat steps 7 and 8 with the remaining 4 Cactus pieces so that you will have 3 Cactus sections, each made of 2 Cactus pieces with trim in between.

- On one of the Cactus sections, baste a length of trim to one long edge on the right side of the fabric with the trim facing in. Lay another Cactus section, right sides together on top of the section with the trim. Sew the 2 sections together on the side with the trim, sandwiching the trim in between the pieces.

- Repeat to attach the remaining section to create a complete cylinder with one end closed by the tapered end of the pieces and the other end open. Leave 3-4” open on one of the seams for turning and stuffing!
- With right sides together, pin the Cactus Bottom fabric piece to the open end of the Cactus. Sew the bottom onto the Cactus.

- Turn the Cactus right side out through the opening and stuff. Hand sew the opening closed.
- To make the Flower pattern, fold a piece of paper approximately 8” square in half. Fold the paper in half again. Now fold the paper so that the adjacent folded sides meet. Draw a curve going from fold to fold a few inches up from the point. Cut along the curve and unfold the paper.


-
Use the Flower pattern to cut a flower from felt. Re-fold the paper pattern and cut it again so that the flower is a little smaller. You can cut another curve or make pointier petals. Cut this flower from felt. Continue to cut the paper pattern into smaller flowers and cut them from felt. I made 5 flowers in decreasing size. Cut a small felt circle for the center, layer the flowers, and sew the flower together around the center circle and then to the top of the Cactus.


